How magnetic storage works
The idea is simple: glue a magnet to the bottom of each miniature's base, then store the figures on a sheet of steel or magnetically-receptive material inside a box. The magnet grips the sheet, so the minis stand upright and won't slide or tip — even if you turn the box on its side. Because only the base touches anything, the painted figure itself never rubs against foam or its neighbors. It's the single most-recommended storage method among tabletop hobbyists, and it's cheap to do across a whole collection.

The number-one mistake: the wrong sheet
This trips up almost everyone the first time. There are two very different products with confusingly similar names. Cheap magnetic sheet — the flexible fridge-magnet type — is far too weak to hold a magnetized model; it barely holds itself to a fridge, and hobbyists who buy it end up with a roll gathering dust behind a cabinet. What you actually want is magnetically-receptive (ferrous) sheet: steel-cored or ferro-rubber material that a magnet grips hard. Plain cut steel is the strongest and cheapest option if you're willing to cut metal, and thicker steel grips harder. Ferro-rubber cuts with scissors and holds nearly as well with less weight. Read the label: you want 'receptive,' not 'magnetic.'
What you'll need
A short shopping list covers a whole collection.
- Small neodymium disc magnets sized to your bases (see the base magnet size guide).
- A magnetically-receptive or steel sheet for the bottom of the box — not fridge-magnet sheet.
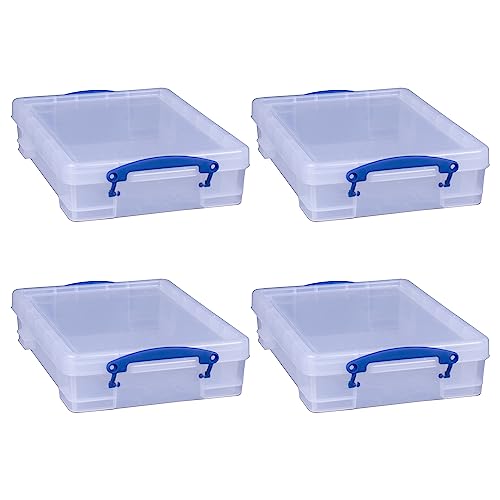
- A sturdy, ideally clear, stackable box to hold it all.
- Superglue plus a little green stuff or milliput, or a hot glue gun, to fix the magnets.

Gluing the magnets so they last
Plain superglue alone is brittle — it holds fine until a cold day or a hard knock, then shatters and drops the magnet (a common winter failure). Two better methods hobbyists rely on:
- Green stuff plus superglue: press a small blob of green stuff or milliput into the base, seat the magnet, and wick superglue around it. The putty adds elasticity so the bond survives impact and temperature swings.
- The hot-glue flush trick: lay the magnet on any steel surface (with a scrap of parchment so the glue doesn't stick to the metal), put a blob of hot glue on the magnet, then press the base down onto it. The magnet sits perfectly flush at 'ground level' and cures in seconds.
- Gel superglue or two-part epoxy also work; pre-cut self-adhesive base magnets are the easiest of all if you'd rather skip the putty.
Mind polarity, or skip it entirely
If you put magnets on both the bases and the sheet, keep every base magnet oriented the same way up so they all attract the sheet instead of repelling it. The simpler route is a steel or ferrous sheet on the box floor — steel attracts either pole, so plain magnets stick regardless of orientation and you never have to think about polarity again.
Hard cases: MDF and textured bases
Not every base takes a magnet cleanly. Drilling a magnet hole into an MDF or heavily textured resin base risks cracking it. Two workarounds: drill all the way through and fill from the top with green stuff to seat the magnet flush, or invert the system — stick a cut circle of ferrous sheet under the base and put the magnets in the tray instead. A steel washer glued into the base is another alternative; some hobbyists prefer washers-in-bases with a magnetized sheet so adjacent models don't cling to or repel each other on the table.
Sourcing steel on the cheap
The sheet is the part people struggle to find. Galvanized or steel sheet from a hardware store (near the ductwork aisle) cut to size with tin snips is the classic; roof flashing is thinner and easy to cut; HVAC duct sheet works too. Around the house, cookie sheets, cake pans, and biscuit or popcorn tins are already ferrous — magnetize your bases and they hold with no sheet needed. Attach a sheet to a plastic box with two-part epoxy, Liquid Nails, or self-adhesive Velcro squares; Velcro lets you peel the plate out for cleaning and adds a little flex so it survives drops.